It’s finally time to setup my blog! Since I didn’t want to be annoyed with WordPress maintenance. So I’ve decided to go with:
-
Hugo as a blog engine
A simple static site generator that I fiddled with a bit in the past and I liked it because of the CLI-integration.
-
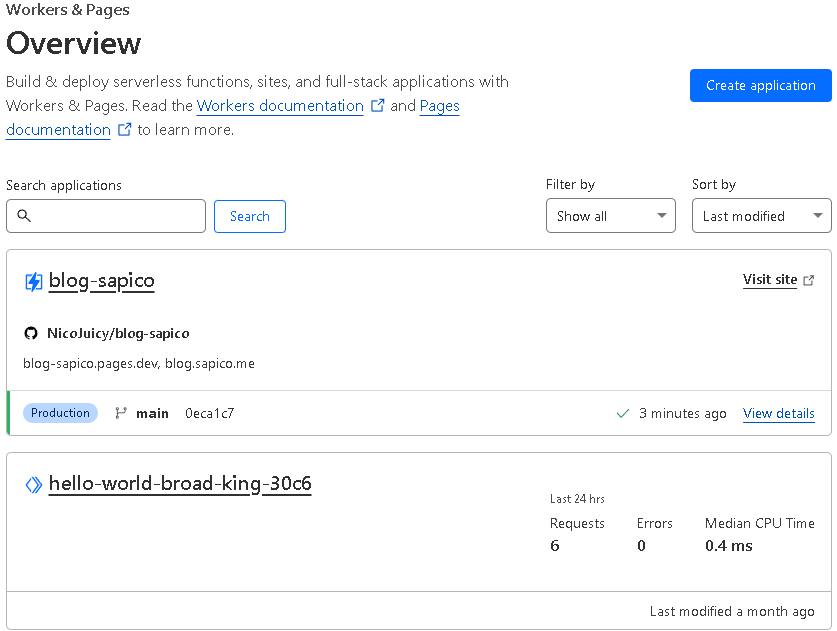
Cloudflare Pages to host it on
It’s free and I have a preference for Cloudflare. Since the entire setup was fairly dummy proof. This will be really short :p
Setup
The eventual setup was so easy.
- Install Hugo
- Adjust the theme
- Create a new post using the command: ‘hugo new content posts/my-first-post’
- Using a Github repo
- Initialize a local git repo using ‘git init’
- Create a Github repo and publish
- git remote add origin main
- git push
- Create a new Cloudflare Page
- Connect my github account to Cloudflare
- Select the blog repo & use Hugo as framework
- Deploy
Additionally, I also connected it to my own custom domain for vanity purpose ;)
Pro
- Automated CI/CD from Cloudflare
- Simple Vanity URL if the DNS is managed within Cloudflare
- Easy to create posts with Hugo
- Easy to custumize functionality within Hugo
- Deployement is Fast! From Commit to live within a minute
- Handles the production environment. Concept posts aren’t seen
- Can update my blog through my phone!
Con:
- No custom gitlab repo’s on Cloudflare, so the blog was moved to a private repo on github
Conclusion
The entire process was fairly smooth and took about 20 minutes. Additionally, it’s hosted for free.
For technical folks who have experience with git and prefer markdown, I can definitely recommend this setup.
Notes:
-
The first time I uploaded assets to the Cloudflare page, it didn’t allow a zip with html. When retrying it later on, this worked. Not clear what happened here
-
In cloudflare, you can add a page-rule: “email obfuscation” which should protect against crawlers that collect emails
-
I also rambled about enabling Preview URL’s on Cloudflare Pages
